
How to Play maimai at Home in North America: The Complete Guide
maimai DX finally came West. SEGA’s official location tracker listed about 120 places in North America as of October 2026 – most of them Round1 arcades in the US. That still leaves most players hours away from the nearest cabinet, which is why “how do I play this at home?” is now the most common question in the community.
This guide covers the hardware side of that question honestly: the four real routes to a home setup, what each one actually costs by the time it is sitting in your room, and who each route suits. One boundary up front: we sell hardware. What software you run on your own PC is your side of the desk – this guide is about controllers, buttons, screens and readers.
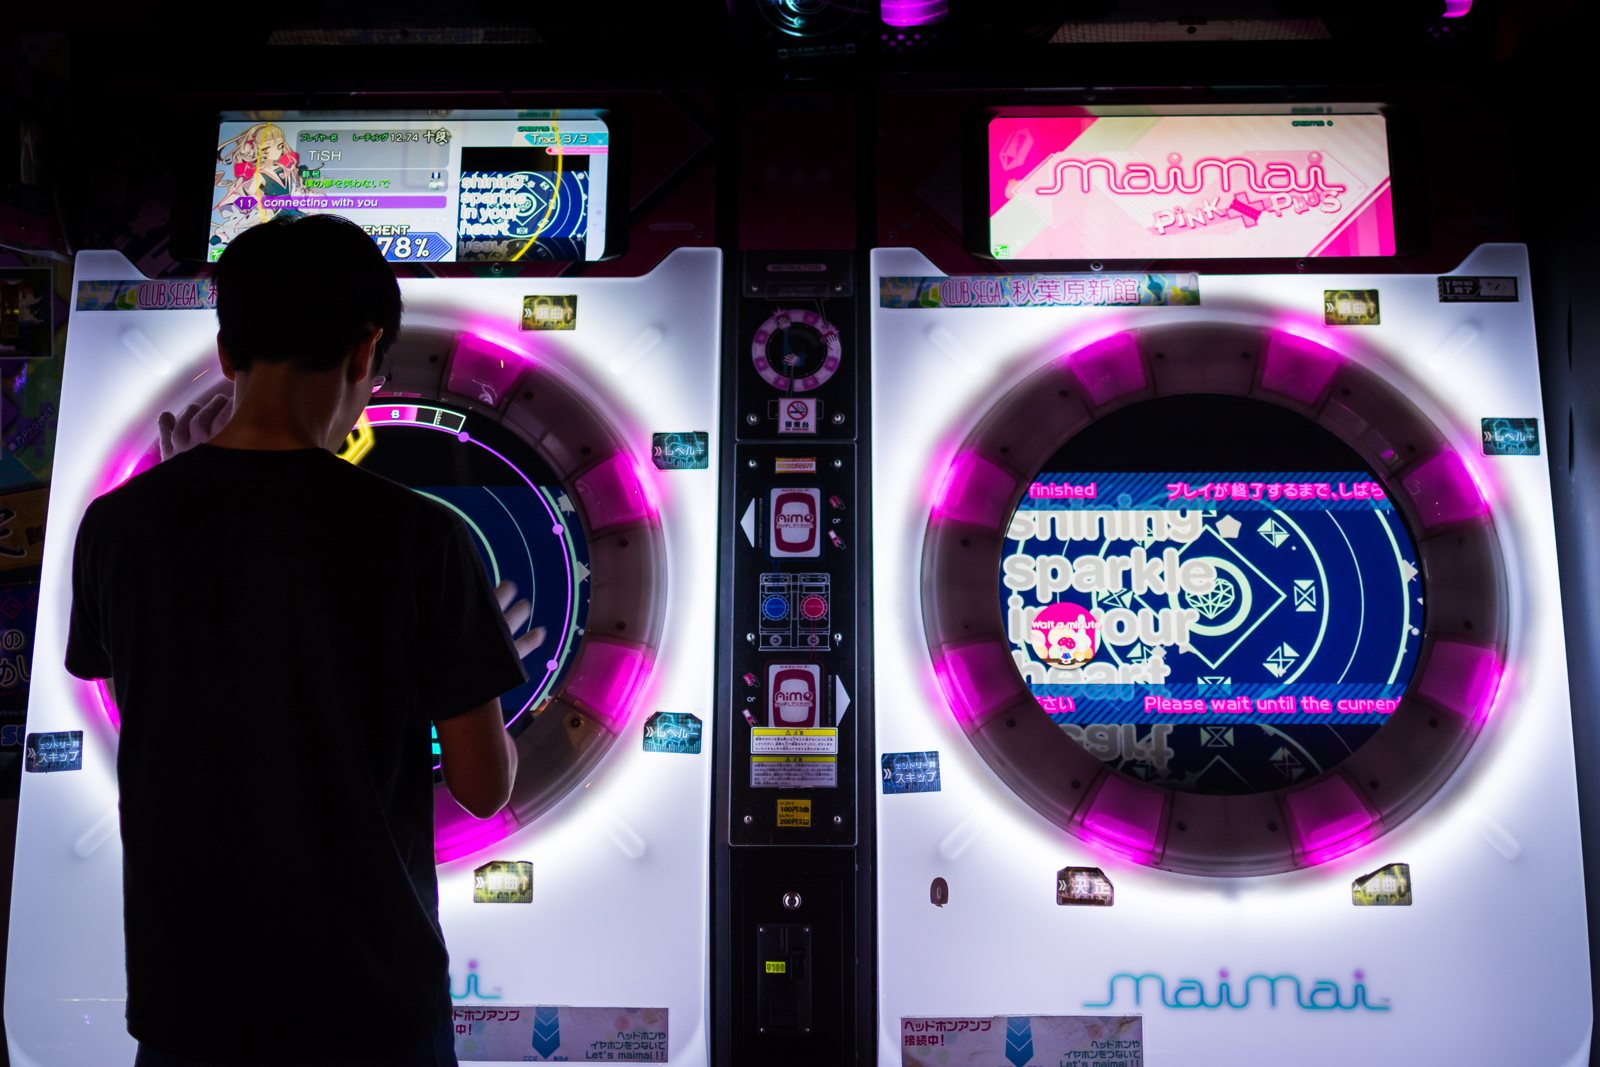
What a home setup actually consists of
- The controller – a round touch panel ringed by 8 large buttons. This is the expensive, hard-to-ship part.
- A display – most home controllers do not include one. Plan for a 32-43″ monitor or TV depending on the model.
- A PC – the controller is a USB device; your computer does the rest.
- Small consumables – an Aime-compatible card reader if you want card login, and gloves. Yes, gloves: they protect both your hands and the panel, and every serious player uses them.
Route 1: Import a finished controller from China
The established name is YuanCon. Its current NoronDX AIR lists at US$968 – and that is before the part everyone forgets: shipping a near-meter-wide round controller across the Pacific. At checkout to Canada we have seen US$455 in shipping alone, for a landed total of about US$1,423 – still with no display included. Add a suitable monitor (the AIR wants a 42-43″ screen) and you are around C$2,200+ all-in, in English-language support distance of exactly one overseas seller.
Verdict: a real product from a real maker, but you pay roughly a third of the price again in freight, wait on international logistics, and handle any warranty issue across an ocean.
Route 2: Order from a Chinese maker directly
Most of the world’s home maimai controllers are built by independent makers in China selling through marketplaces like Xianyu. Community guides list, for example, Wuyu controllers from about ¥1,499 (board only) to ¥2,349 (basic complete), and larger ADX/HDX-class builds from roughly ¥5,900 to ¥12,000. The hardware can be genuinely good for the money – the sticker prices are far below Route 1.
The catch is everything around the hardware: listings, options menus and after-sales chat are in Chinese; production is often made-to-order with deposits; international freight on a built unit can run about ¥4,900 by air; and if a button or the touch panel misbehaves, your support channel is a chat thread in another timezone and language. Experienced buyers with a Chinese-speaking helper do fine here. First-timers regularly underestimate the freight and the friction.
Route 3: Build it yourself (DIY)
The open-source mai_pico project brought the DIY bill of materials down to roughly ¥700: a Pico-class controller board, capacitive touch sensing, a custom-etched ITO glass panel and a frame you cut or print yourself. Community documentation (the MaiHome guide on GitHub is the usual starting point) is extensive.
Two honest warnings. First, ¥700 is the parts sticker, not the project cost – tools, mistakes, shipping on ten separate orders and your weekends are real. Second, open-source is not a free-for-all: mai_pico is published under a non-commercial license, which is fine for your own build and exactly why reputable sellers cannot just sell you a clone of it. If you love building, this route is the hobby itself. If you mainly want to play, price your time before you start.
Route 4: Buy from a local builder (that’s us)
Full disclosure, since this is our site: OtogeGarage exists because of the freight math above. We import the same class of parts in batches, assemble and test controllers here in Ontario, and sell them at a North American retail price (our target band is C$1,200-1,400) with local warranty support in English. Controllers are built to order against a refundable deposit rather than stocked speculatively – the Support page explains how pre-ordering works, and the parts shelf (buttons, readers, gloves) ships immediately.
Verdict: not the cheapest route on paper – Route 3 wins that if your time is free – but the only one where the person who built your controller is on your continent when something needs fixing.
The real cost table (October 2026)
| Route | Controller | Freight to Canada | Display included | Support |
|---|---|---|---|---|
| YuanCon NoronDX AIR | US$968 | ~US$455 | No (needs 42-43″) | Overseas |
| Chinese maker (Wuyu class) | ¥1,499-2,349 | Up to ~¥4,900 air | No | Chinese, remote |
| DIY (mai_pico class) | ~¥700 in parts | Many small orders | No | Yourself |
| OtogeGarage (built in Ontario) | C$1,200-1,400 target | Domestic | No | Local, English |
What that means landed in Canada
Sticker prices are only the first layer. A landed total also carries duties and tax – Canada’s courier low-value threshold is famously low (C$20 for most non-US shipments), so assume tax applies to anything imported – plus the display almost no controller includes. US buyers are in a similar spot since losing the de minimis exemption for Chinese goods in 2025, which is part of why ordering direct got more expensive across North America. With a display included, the four routes above land in Canada at roughly:
- Finished import (NoronDX AIR): about C$2,350-2,500 – US$1,423 for the controller and freight, plus a 43-inch TV at C$300-450.
- Chinese maker, ordered direct: about C$1,300-1,600 before the display – the controller is the cheap part; the ocean is the expensive part.
- DIY: a realistic C$300-450 all-in with a portable 15.6-inch screen, frame materials and the orders you will inevitably place twice – if you already own basic tools.
- Locally built (OtogeGarage): about C$1,550-1,850 with a display, with domestic shipping instead of trans-Pacific freight.
Don’t forget the small stuff
- Buttons are consumables. Arcade-spec Sanwa OBSF-30 buttons run about US$3.25 each from US arcade shops; budget controllers use domestic buttons that feel fine but wear faster. Either way, spares are cheap insurance – a dead button on game night is a stupid way to lose a weekend.
- Gloves run about US$20 a pair from US sellers and genuinely change how the panel feels.
- A card reader is optional, but players coming from the arcade usually want their card routine to feel the same.
So, which route?
- You love building things: Route 3, and our teardown and build logs will be useful to you.
- You read Chinese, have a freight forwarder you trust, and want maker-direct pricing: Route 2.
- You want a finished import and accept the freight and overseas support: Route 1.
- You want it built, tested and supported on this continent: Route 4 – start with the parts shelf if you are upgrading, or talk to us about a build.
Whichever route you take, the golden rule of this hobby in 2026 is: price the whole setup, landed, with a display – never the controller sticker alone.